
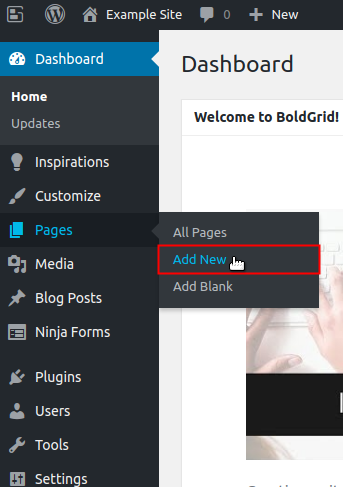
To create a thank you page or Thank You page in Ninja Forms, the first step is to create a page in the usual way, this page will be the one we’ll later link to the form. To create a page you need to go to All Pages, in the left menu and click on Add New:
Once the page is added and the appropriate content created, you need to save the page and Publish it.

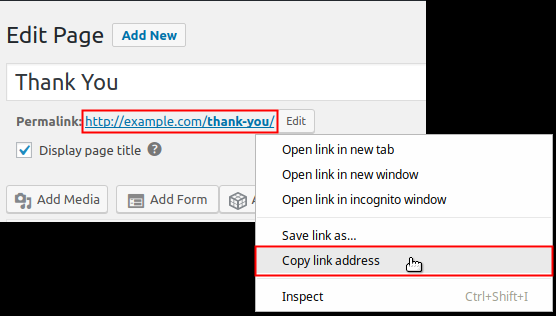
From this page we memorize the URL by copying the permanent link, you can find it at the top of the WordPress page editing.
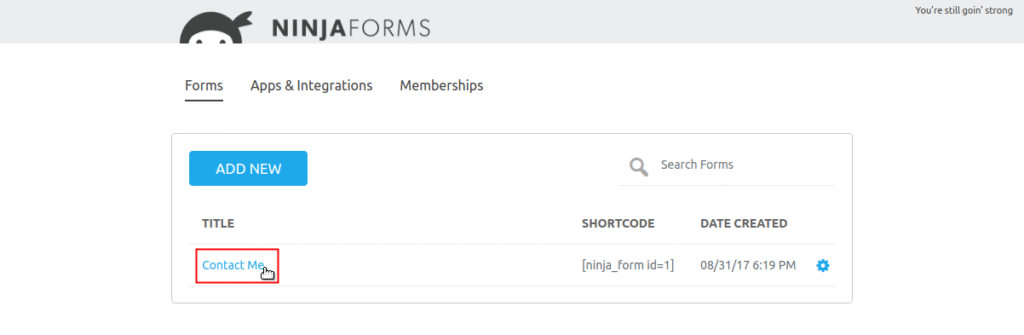
Once the link is copied we can go to our Ninja Form, from the left menu.

We select the example form we have, in the case we present it would be the following:
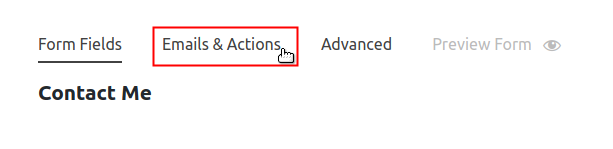
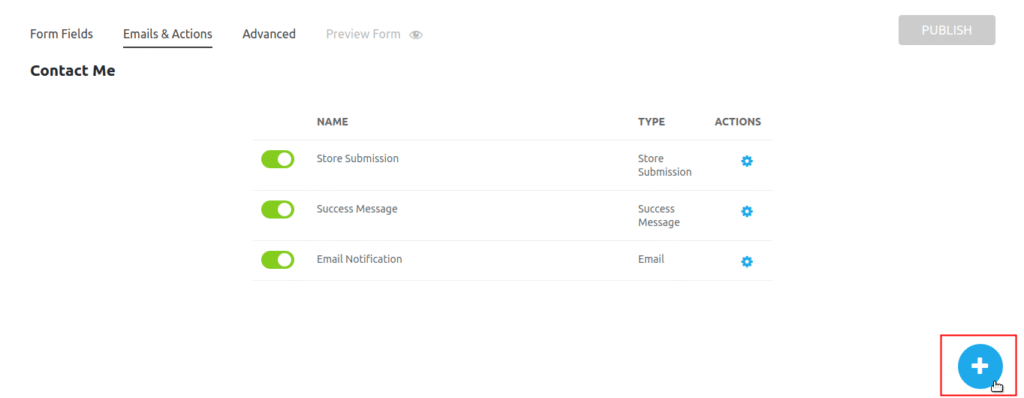
We click on the tab: Emails and Actions:
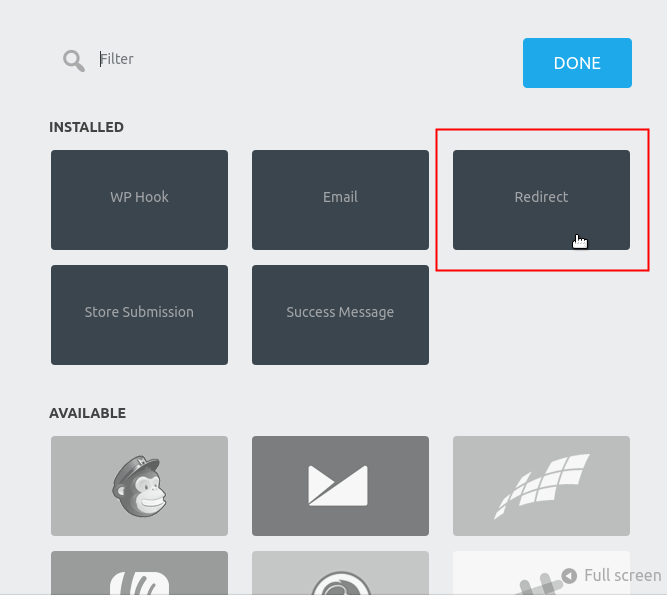
Click to add an action, a bar with the actions will slide from the right side, showing the installed and available actions.
Click on the Redirect action button:
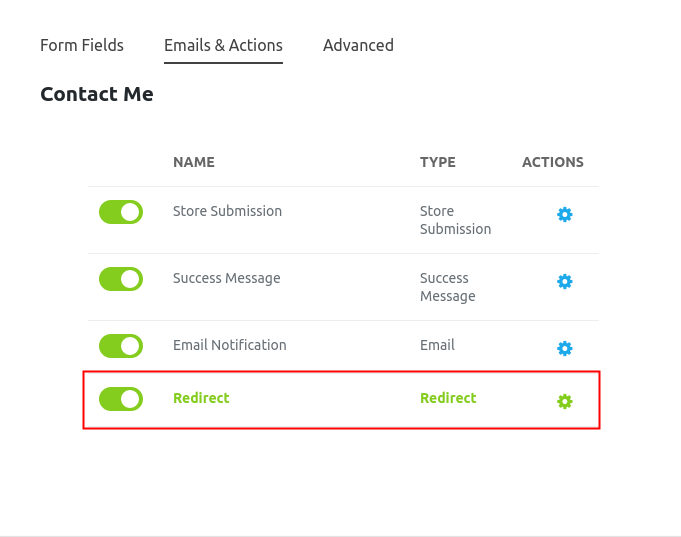
Once this is done, the redirect action is added to the form
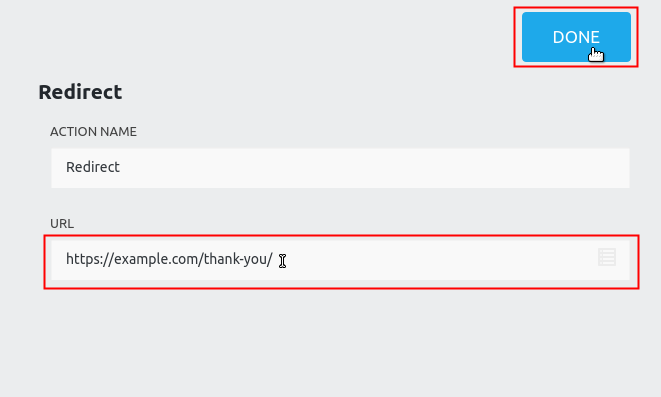
Now it’s time to include the URL. Simply, you need to paste it in the URL field. Finally click on the “Done” button.
Finally, all that remains is to save.
We hope we have been able to help you!