Ninja Forms is the ultimate FREE tool for creating forms in WordPress. Build forms in minutes using a simple yet powerful drag-and-drop interface. Beginners can easily design complex forms quickly and without writing any code. For developers, the use of hooks, filters, and even custom field templates allows full flexibility to achieve any functionality needed at different stages of form design or submission, all within Ninja Forms as the working environment.
Ninja Forms features include, among others:
- No limitations on the number of forms, fields, emails, actions, or submissions that can be included.
- Displays a success message after completing a form to confirm successful submission to the user.
- Sends emails to administrators and/or users with form data each time a submission is processed.
- Dedicated fields for emails, dates (with date picker), phone numbers, addresses, and more.
- Validates required fields and allows defining specific input formats with custom input masks.
- Manage, edit, and export user form submissions directly from the WordPress dashboard.
- Export and import favorite forms and fields.
- Multiple built-in anti-spam options, including Google reCaptcha, Akismet, question/answer fields, and honeypot fields by default.
- AJAX form submission without page reloads.
- Extended functionality and integrations available through many premium add-ons.
How to create a form with Ninja Forms
- Install and activate the Ninja Forms plugin.
- Go to the WordPress menu and open the Ninja Forms section.
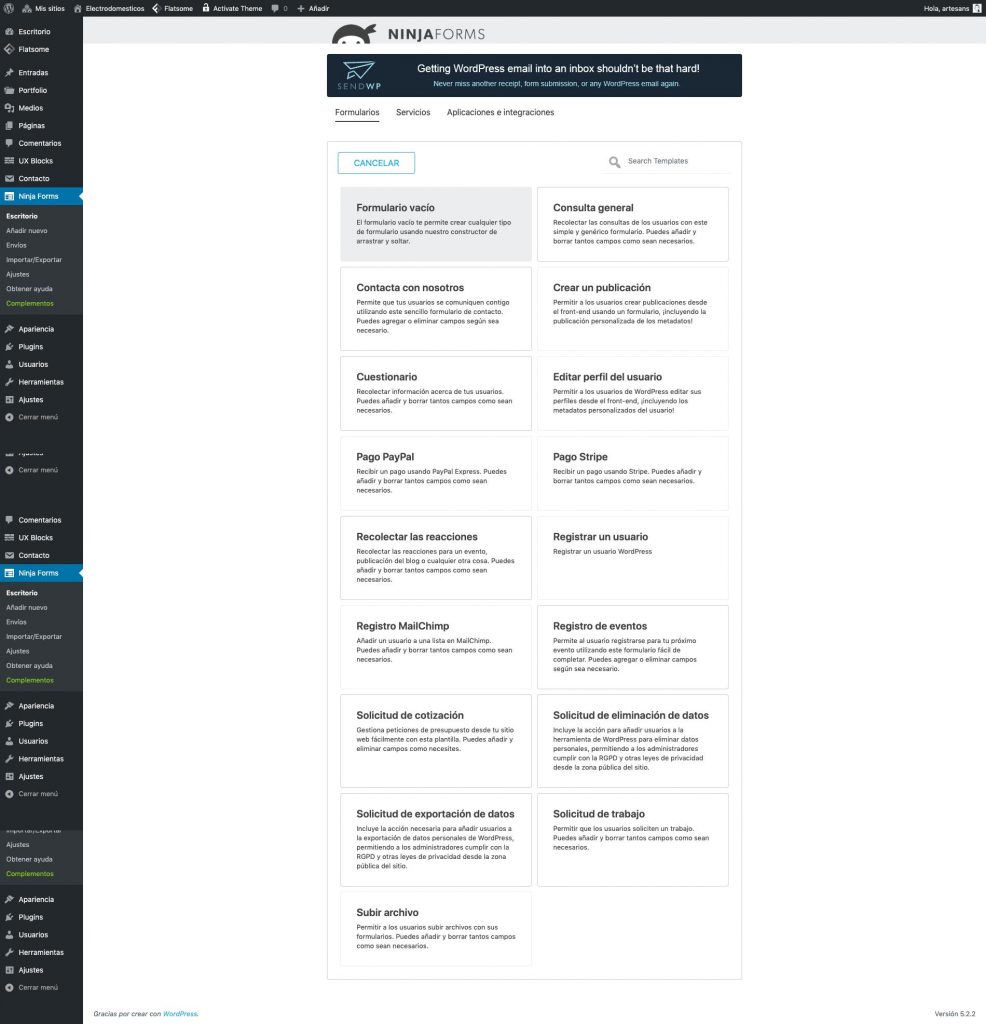
- You’ll see the following window. Click on “Add New” to create a new form.

- You’ll find several templates to choose from. Select the one that best fits your needs, or click “Blank Form” to start from scratch.
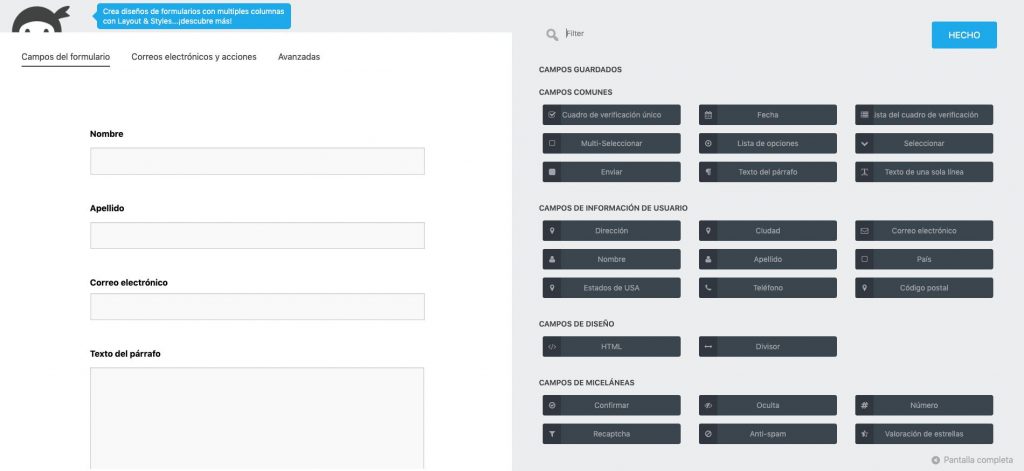
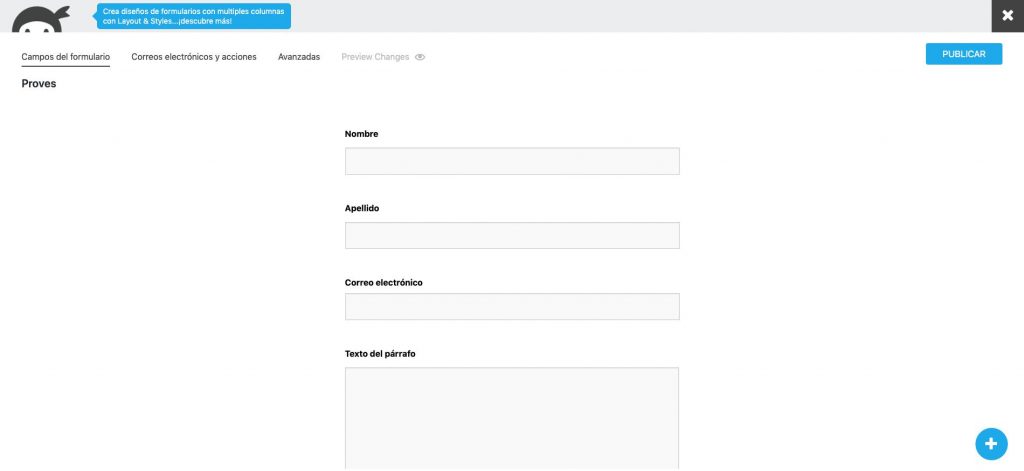
- A screen will open showing different types of form fields. Choose the ones you want and drag them into the form area.
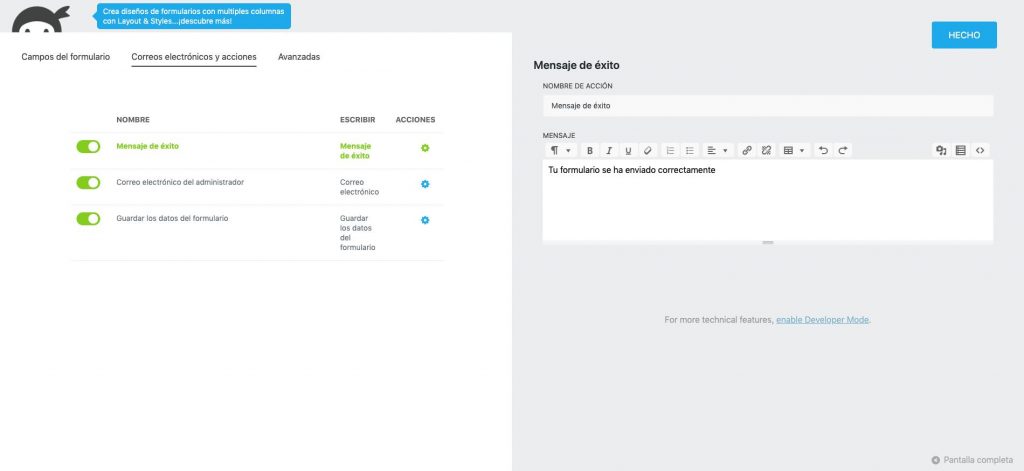
- Once you’ve added all the fields, go to the “Emails & Actions” section to configure your email settings.
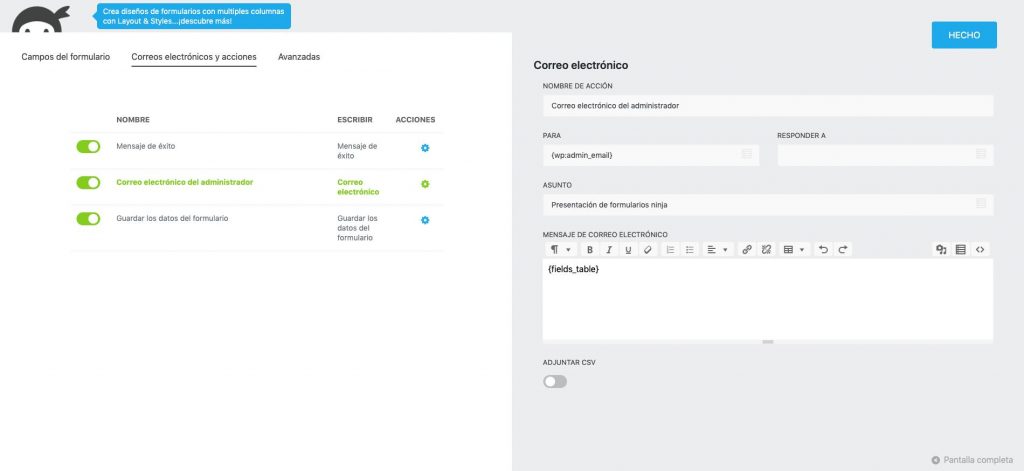
- Click on the gear icon of the success message. A panel will appear on the right, allowing you to edit the confirmation message displayed when the form is successfully submitted.
- Click on the gear icon of the admin email action. On the left, you’ll find fields to configure the email that will be sent to you every time a user submits the form.
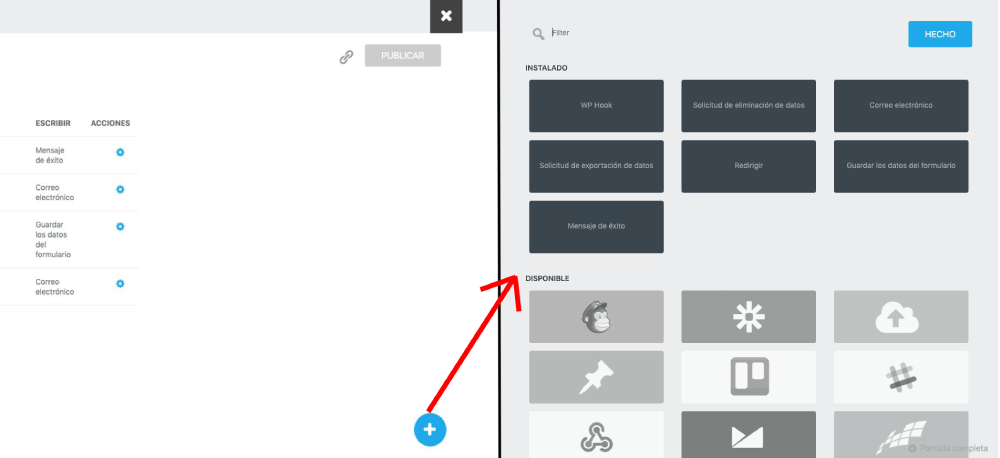
- Click the “+” button in the lower right corner to access additional configuration options.
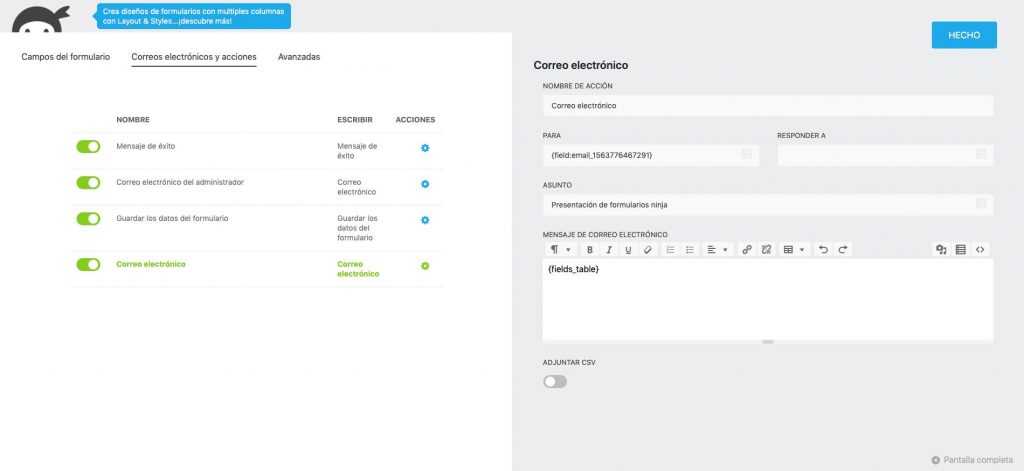
- In the “Email” section, you can edit and configure the message received by the user who filled out the form.
- Once everything is configured, click “Publish.”
- A field will open for you to enter the form title. Then click “Publish” again to confirm.
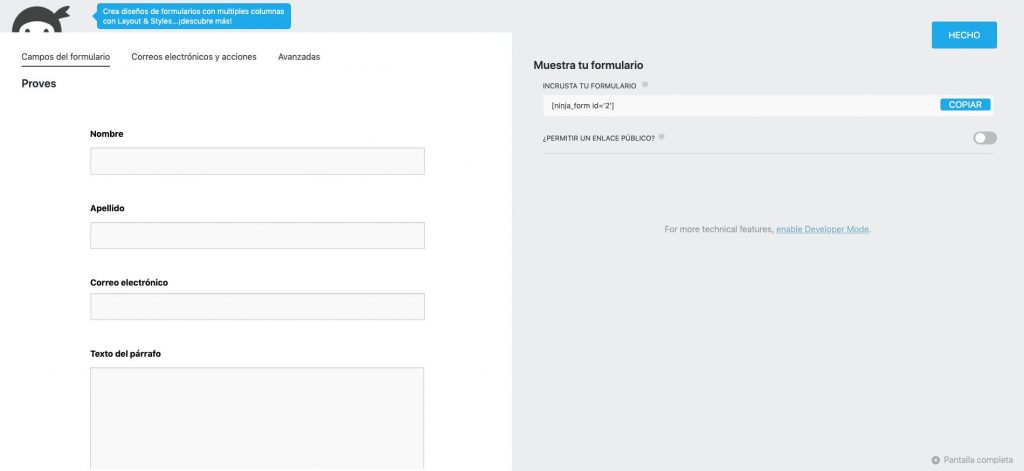
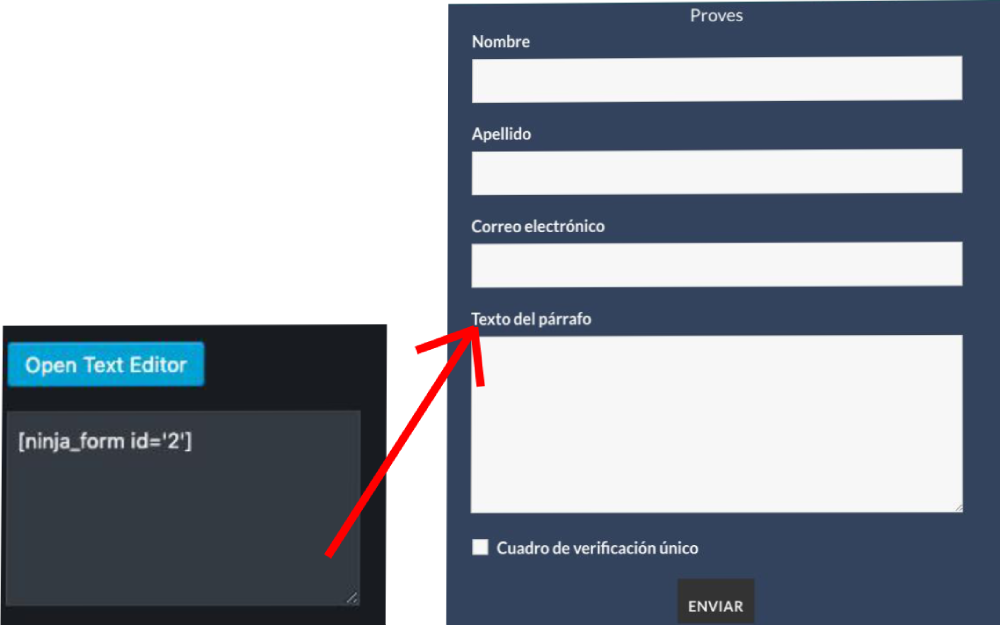
- Finally, a shortcode will appear. Copy it and paste it into the page where you want the form to appear. Once done, your form will be ready and visible to your website users.